
We mounted aluminum barstock on the back of the frame to give us more options for mounting and also to act as a stiffener/brace to the existing aluminum frame.
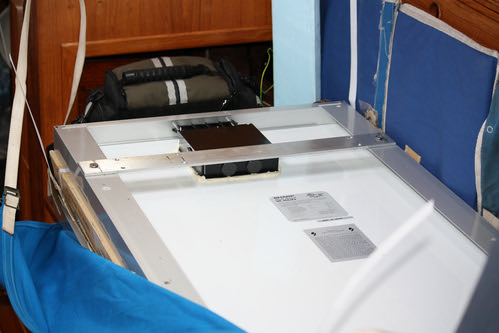
We fastened the aluminum barstock to the frame with spacers I cut from starboard and stainless u-bolts with wing nuts. The wing nuts and u-bolts are intended to simply the removal process in an emergency because they can be removed by hand without tools.

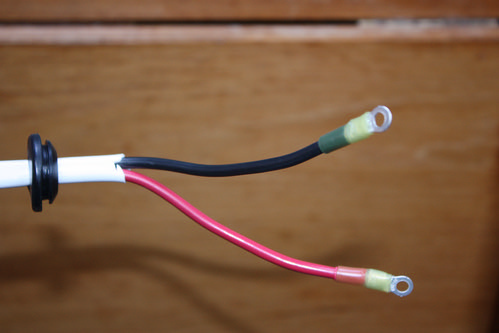
We used sealing ring terminals on the ends of the wire which were fit through the gasket provided by the manufacturers (2 Sharp 80W and 1 Kyocera 85W).
This is what the inside of the built in junction box looked like. We wired the panels in parallel and this panel has the wires from the preceding panel as well as wires going out to either the next panel or the MPPT controller.

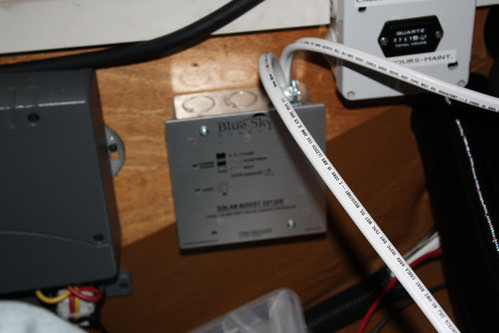
The end wires come through the cockpit combing and down under our aft berth to our Blue Sky MPPT controller like this.
An overview of how the panels were working during this past summer is here.


Looks better than a professional job. Nice work!
ReplyDeleteMerci Bob
ReplyDeleteWe will be working on our install today or tomorrow. Hopefully it turns out as nice as yours.
ReplyDeleteBon chance Mike!
Delete